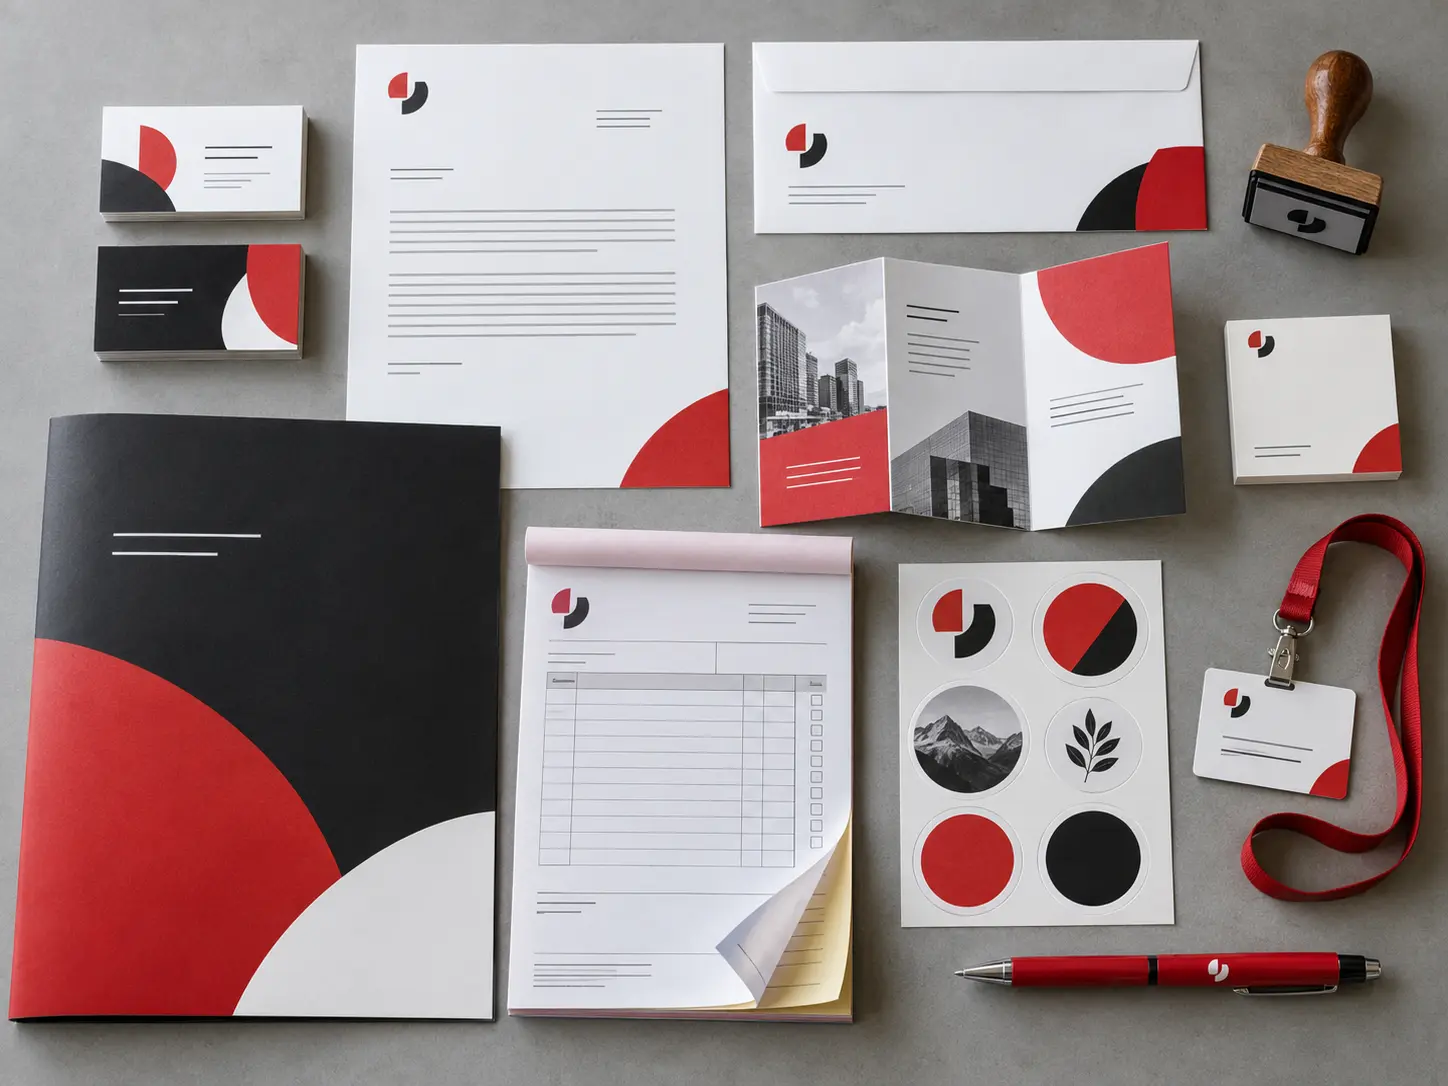
Accurate recommendations start with the actual vehicle, building, surface, quantity and deadline. Use this guide to prepare the right questions, then confirm the final specification for your project.
Build at the correct size
Set the document to the finished size whenever practical. Large-format work may use an agreed scale. Include bleed only where ink or graphics must extend beyond the trimmed edge.
Use print-ready color and images
Keep logos and line art as vectors when possible. Place images at enough effective resolution for the final size and viewing distance. Pantone, CMYK and RGB values can produce different expectations, so identify critical brand colors before proofing.
Package what production needs
A press-ready PDF is often the cleanest handoff, but requirements vary by product. Outline or package fonts where requested and include linked images.
- Confirm finished size and quantity
- Include bleed where needed
- Use high-quality linked images
- Identify spot colors and finishing
- Review the final proof carefully
Prevent the most common production delays
Files often stall because the finished size, bleed, folds, variable information or final quantity is unclear. Include those specifications with the artwork instead of relying on the filename or an earlier email thread.
A proof is the last practical place to catch content mistakes. Review phone numbers, web addresses, names, dates, panel order, folds and quantities—not only color and appearance.
- Supply vector logos when available
- Check effective image resolution
- Include bleed and safe margins
- Approve content, finishing and quantity together