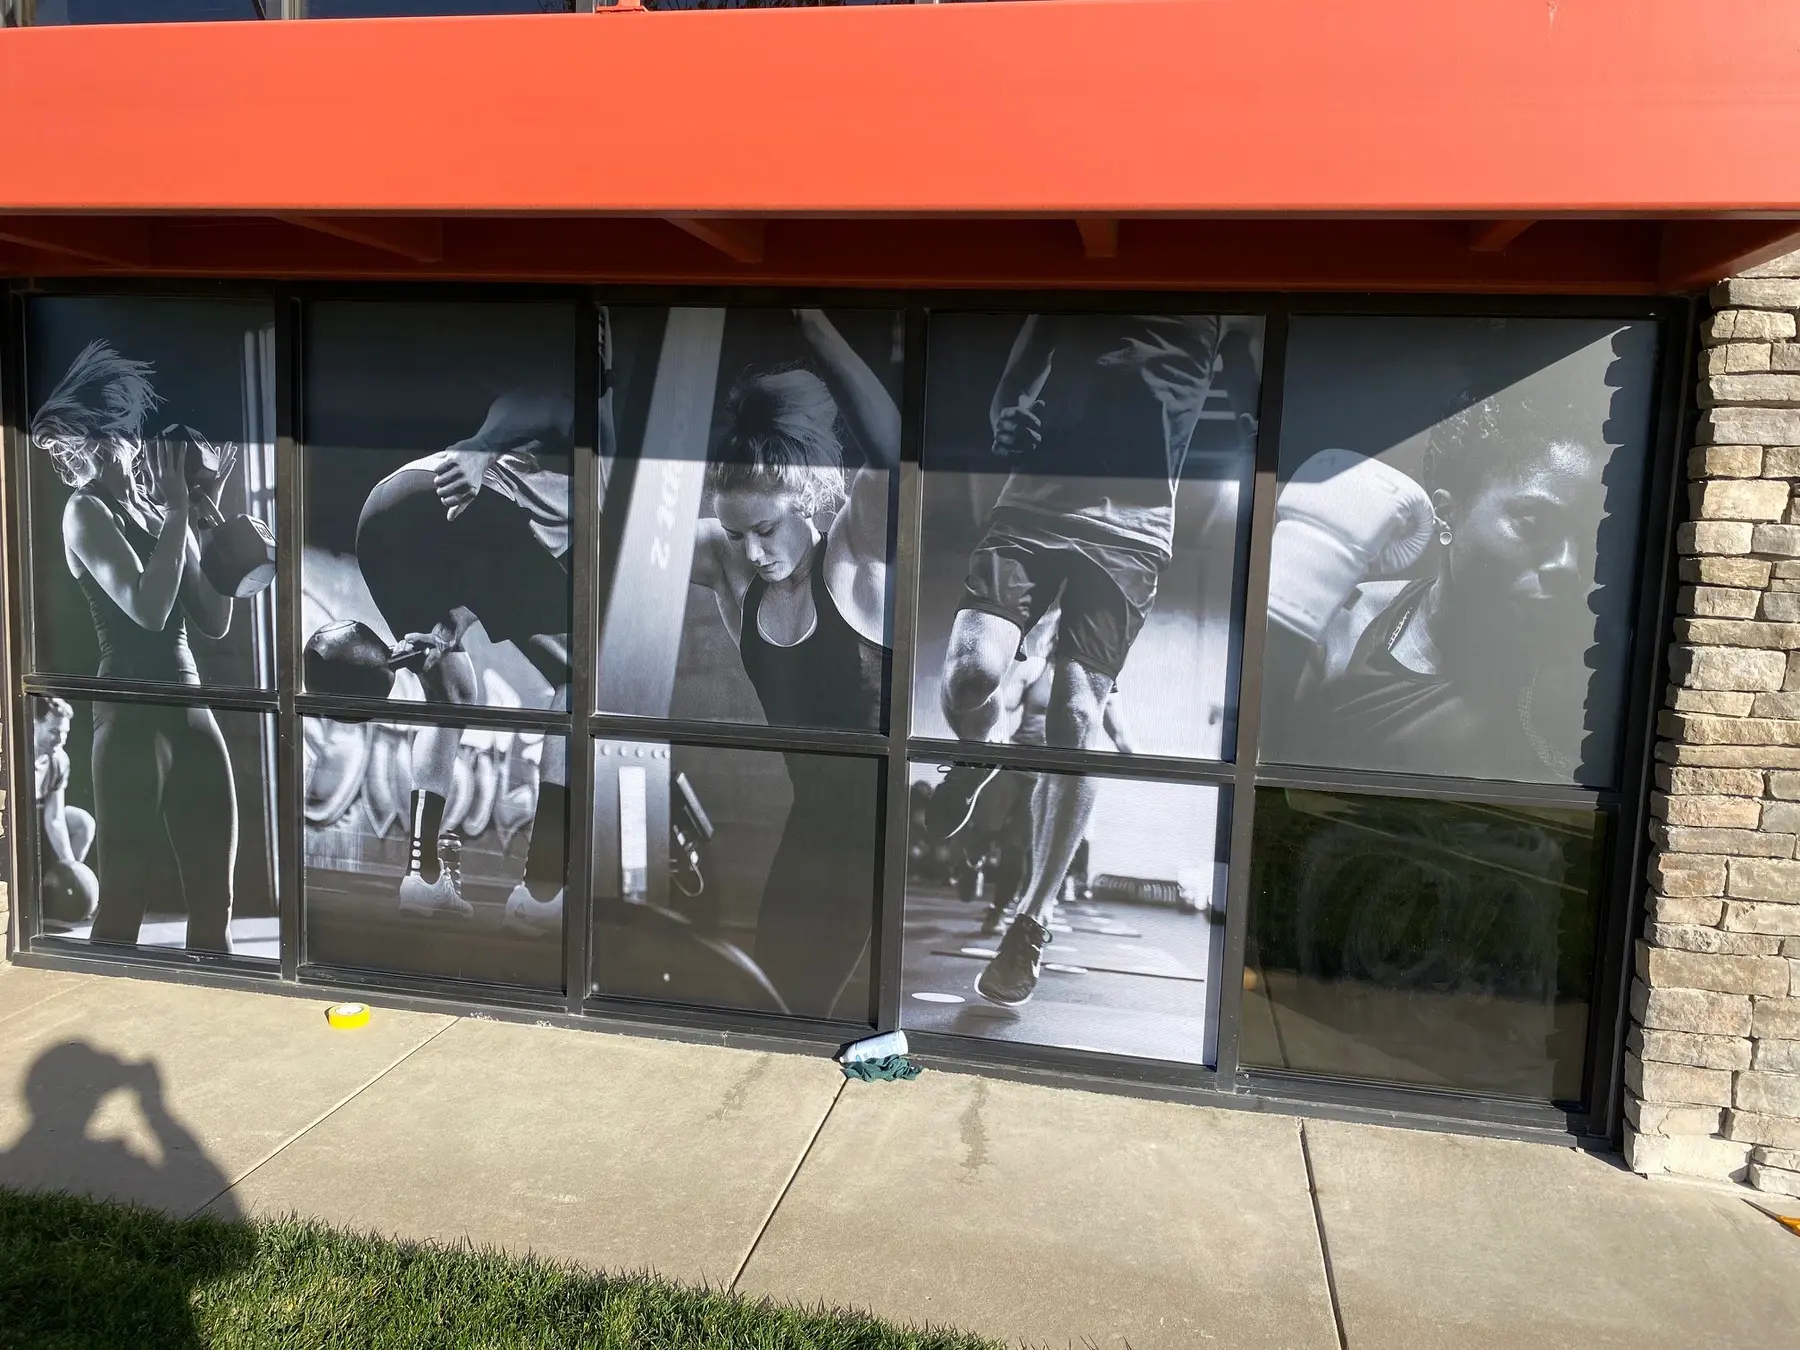
Send a wide view of the location, a straight-on view of the sign area and a close-up of the surface or existing hardware. Add width and height with units, quantity, the exact message and whether you need installation. Mark estimated dimensions clearly: they help start the discussion, while final production sizes may need to be checked on site.
| Project | Useful photos | Measurements and details |
|---|---|---|
| Window lettering or graphics | The full storefront, each pane and any existing film or lettering | Visible glass width and height for each pane; handles, frames and the area you want covered |
| A small wall-mounted sign | The whole wall, the proposed location and existing brackets or holes | Desired sign width and height; available wall space; whether an old sign needs removal |
| A banner | The display location and any frame or attachment points | Available space, desired finished size, indoor or outdoor use and whether hardware is needed |
| Yard signs | A placement photo when the location affects the brief | Finished size, quantity, one or two printed sides and whether stakes or frames are needed |
Take three views that answer different questions
A wide photo shows where the sign belongs and what surrounds it. Include nearby doors, windows, landscaping and other signs. Explain whether people will read it from a sidewalk, a parking area or inside the business.
Take a straight-on photo of the intended area, then a close-up of the surface, edges or existing mounting hardware. For window graphics, show the pane divisions and door handles. Keep an unmarked original if you also send a copy with notes or an outline of the proposed sign.
- Wide view: where the sign will be seen
- Straight-on view: what space the design needs to fit
- Close-up: what the graphics or sign will attach to
Separate the available space from the finished sign size
Write dimensions as width × height and include inches or feet. Label whether you measured the existing sign, a frame opening, the glass itself or the entire available area. Those are different measurements and should not be treated as interchangeable.
For example, a wall area that is 60 inches wide does not automatically call for a 60-inch-wide sign. The design still needs room around it and a suitable mounting plan. For several windows, number each pane on a photo and list its dimensions separately.
Measure only what you can safely reach from the ground. A photo can help start an estimate, but it does not establish concealed wall conditions or confirm the dimensions of a high sign. Tell us what still needs a site measurement rather than guessing.
Show the surface before choosing the material
Identify the surface if you know it: glass, painted metal, a finished wall or an existing sign panel. Photograph peeling paint, texture, cracks and old graphics, and mention recent painting or any known window film.
For adhesive graphics, surface condition is part of material selection. 3M’s Application: Substrate Selection and Preparation bulletin calls for suitable, clean and dry surfaces and explains that texture can make adhesive contact more difficult. Its linked guidance below is a manufacturer reference, not a promise that every film suits every wall or window.
A close-up can reveal questions worth checking, but a photo cannot prove adhesion or paint condition. Depending on the surface and selected graphic, an inspection or adhesion test may be needed before committing to the installation.
Include the message, quantity and expected use
Provide the exact wording, phone number, web address and business hours that should appear. Send the logo file you have and identify any brand colors or existing signs that the new piece should coordinate with. If the wording is still a draft, say so.
Include quantity, whether each piece has the same artwork, and whether one or both sides should be printed. Explain whether the sign is for a brief promotion, repeated events or ongoing business identification. This gives the team a useful brief without requiring you to choose a material first.
Make pickup, installation and removal part of the brief
State whether you want a finished sign to collect or need installation at your location. Include the project address, access constraints, existing-sign removal and any property-owner requirements you already have. If you expect to reuse a frame or bracket, photograph it instead of assuming it is included or suitable.
Give the date the sign is needed and distinguish it from an opening or event date. Ask the quote to identify design work, hardware, removal, installation and any site checks so you can compare the same scope between options.
Start with what you know
You do not need a complete specification to begin. A useful first request might read: “We need new business-hour lettering on two entrance doors. We have photos and approximate glass sizes, the wording is ready, and we need installation.” That is an example brief, not a customer project.
Endura serves Wichita and surrounding communities from its Park City shop. Start through the quote form with the sign type, location, quantity and timing, and tell us what photos and measurements are available. We can identify what else is needed before the final scope and production size are approved.
- Location photos and any existing hardware
- Width × height with units; estimates clearly labeled
- Exact wording, logo files and quantity
- Indoor or outdoor use and the intended service period
- Pickup or installation, removal needs and deadline