Treat the new vehicle as an extension of an approved fleet system, not as a fresh design project. Start with the previous proof or production reference, the current logo and brand files, and clear photos of an existing unit. Then document the new vehicle’s exact year, make, model, body style, color, equipment and unit number. Keep the same visual hierarchy across the fleet, but adapt placement to the new body rather than forcing old measurements onto different doors, panels or hardware.
| New unit | What can usually stay consistent | What needs fresh confirmation |
|---|---|---|
| Same model and body style | Logo hierarchy, main colors, copy structure and general coverage | Model year changes, trim, handles, sensors, accessories, exact measurements and current brand information |
| Different body style | Brand hierarchy, type styles, color intent and the order customers should read the message | Panel breaks, doors, wheel openings, body seams, viewing distance and placement for each required element |
| Used or replacement vehicle | Approved brand system and unit-identification rules | Old graphic removal, paint and body condition, previous repairs, surface suitability and how new graphics compare with older fleet units |
Find the approved fleet reference before requesting a redesign
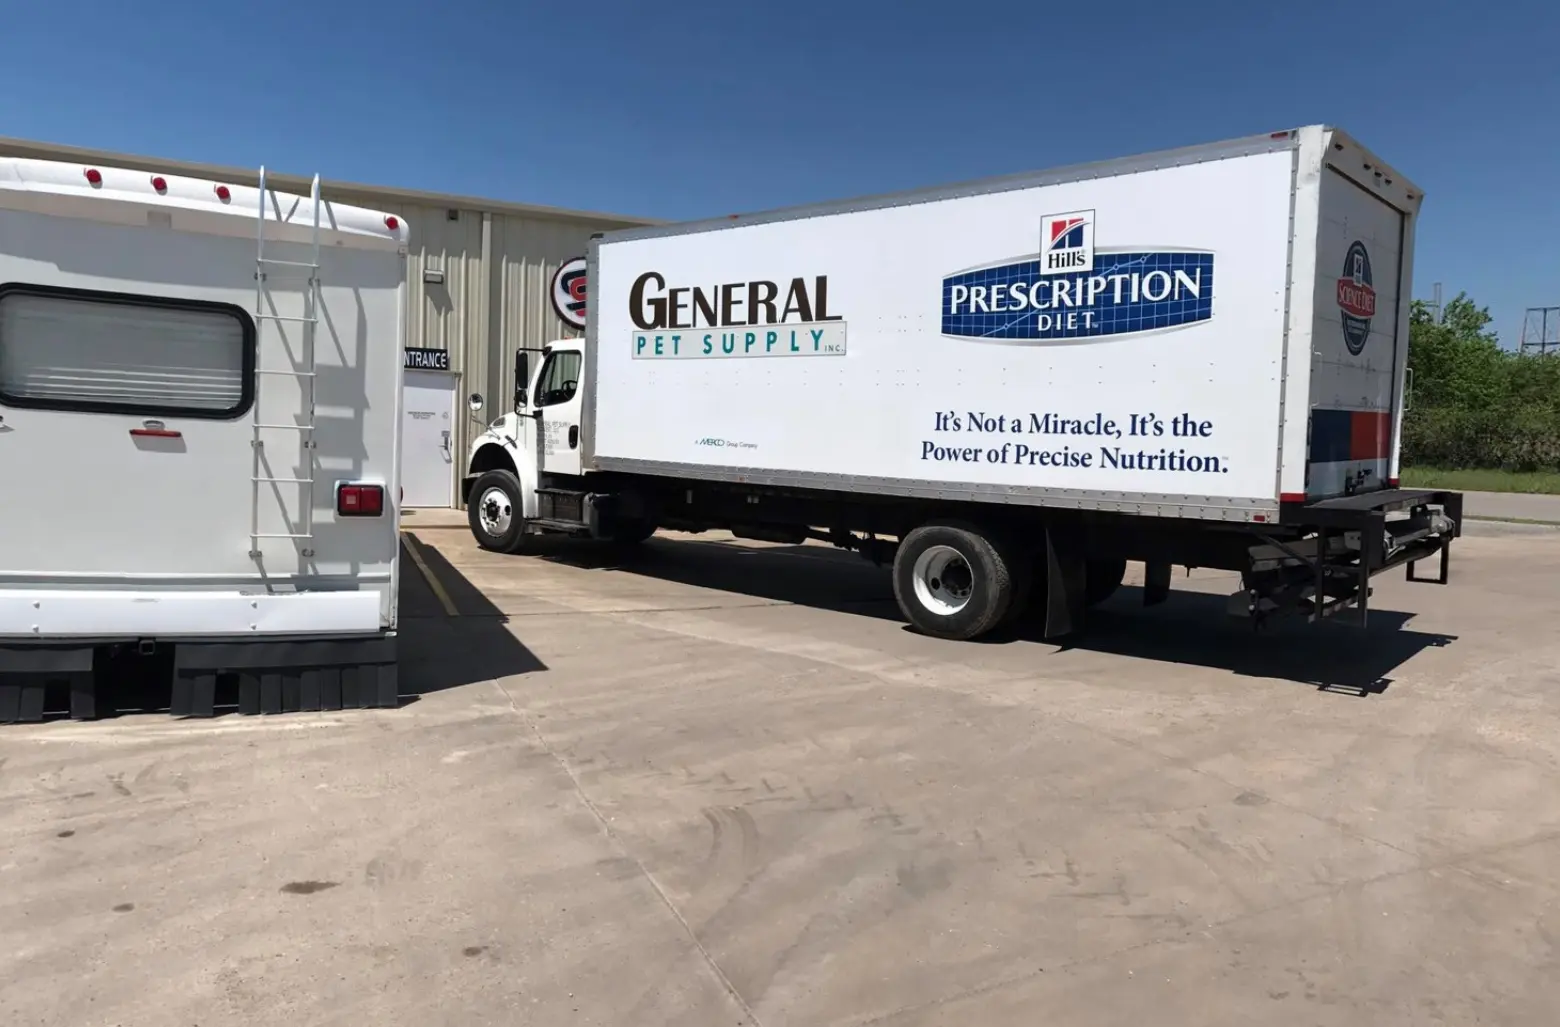
Send the prior approved proof, invoice or job reference if it is available. Include the current logo files, brand colors, typefaces and the exact phone number, website, license information or service list that should appear. A straight-on photo of each side of a completed fleet vehicle helps show how those decisions became a real installation.
Identify anything that has changed since the earlier vehicles were produced. A new domain, service line or logo version should be resolved before the next unit is printed. If the existing fleet contains several versions, choose which vehicle is the standard instead of asking the next design to combine conflicting examples.
- Previous proof, production reference or clear photos of the approved unit
- Current vector logo and any brand guide
- Approved wording, phone number, website and required identifiers
- A written list of changes since the last vehicle was completed
Document the exact new vehicle
Year, make and model are a starting point, not a complete vehicle description. Add the body style, wheelbase, roof height, cab configuration, vehicle color and any service body, liftgate, rack, toolbox, ladder, camera, sensor or aftermarket equipment. Photograph every side from far enough away to show the full body, then add close views of hardware and damage.
Do not assume a familiar model is unchanged. Door shapes, trim, handles, fuel doors and safety equipment can move between model years or configurations. Confirming the actual unit before final production protects the design from measurements or panel assumptions taken from another vehicle.
Keep the hierarchy consistent while adapting the layout
Fleet consistency does not require every logo to occupy the same number of inches on every body. It requires the same brand to be recognized in the same order: business name or logo first, main service or message next, and contact information or required identifiers after that. The exact placement should respect the usable panels and normal viewing angles of the new vehicle.
A box truck, cargo van, pickup and trailer offer different proportions. Preserve the approved type styles, colors and message priorities, then scale and position them for the new surface. Forcing a van layout onto a service body can create awkward breaks at compartments and hardware even when the original artwork is technically reused.
Separate permanent branding from unit-specific information
List the items that are common to every vehicle and the items that change by unit. Common elements may include the logo, website and principal service message. Variable elements may include a fleet number, regulatory identifier, operating location or a phone number assigned to a team.
Provide the variable information in a simple unit list and match each line to the correct vehicle. This keeps a repeated graphic program from depending on notes scattered across emails, photographs and old proofs. It also creates a useful record for the next addition.
Compare new graphics with the existing fleet realistically
Bring or photograph a representative existing unit in neutral daylight when appearance across the fleet matters. New graphics are being produced today, while older graphics have experienced their own sun exposure, cleaning, road use and maintenance. The goal should be a controlled brand match with an informed comparison, not an assumption that a new panel will look identical to every aged surface under every light.
Material-specific color control also matters during production. 3M’s current graphic-design and handling bulletin explains that reflective multi-panel graphics should be visually color matched for both daytime color and nighttime reflective appearance, and that even panels from identical product lots should be checked when they will sit together. That is why the quote should identify reflective areas and other special finishes instead of describing every fleet graphic only as vinyl.
Inspect used vehicles before choosing what to reproduce
Show existing lettering, adhesive residue, scratches, rust, peeling clear coat, body repairs and repainted panels. A graphics plan cannot correct underlying body or paint problems. Removal, cleaning or repair needs should be identified before a production and installation schedule is treated as final.
3M’s fleet guide recommends determining preparation needs such as film removal, paint repair and other surface work, especially when graphics are going onto a vehicle that is not new. The same guide recommends reviewing proofs or prototypes before full production. Those steps are useful for a single fleet addition and become more important when several new body styles are being added at once.
Approve one new body style before repeating it
When several matching vehicles are arriving, identify the first unit as the fit and placement reference. Review the proof against that actual vehicle, confirm unit-specific copy and complete the normal production approval before the rest of the group is released. Record any approved placement adjustment so later units do not restart the same decision.
For mixed fleets, keep a reference for each body class rather than one universal drawing. A cargo van standard, pickup standard and trailer standard can share the brand system while documenting the panel-specific layout that belongs to each vehicle type.
Send a quote-ready fleet addition brief
A useful request can be short: “We are adding one cargo van to an existing branded fleet. The approved reference is attached. The new unit is a different roof height, the website is unchanged, and it needs unit number 12. Photos show the actual van and the existing fleet standard.” That gives the project a clear starting point without assuming the old files fit the new vehicle unchanged.
Endura produces commercial vehicle lettering, wraps and fleet graphics for Wichita-area businesses from its Park City shop. Send the existing reference, exact vehicle information, photographs, required wording, unit list and operating schedule through the quote form. Endura can then identify what can be reproduced, what must be adapted and what needs confirmation before production.
- Existing approved proof or representative fleet photos
- Exact year, make, model, body style, color and equipment
- Clear photos of every side plus close views of hardware or damage
- Current logo files, brand colors and approved wording
- Unit number and any vehicle-specific identifiers
- Existing graphics or adhesive that may need removal
- Dates the vehicle can be released for inspection and installation